This is part #1 of my adventures in Building the Internet of Things with the Raspberry Pi with @sn0wcat.
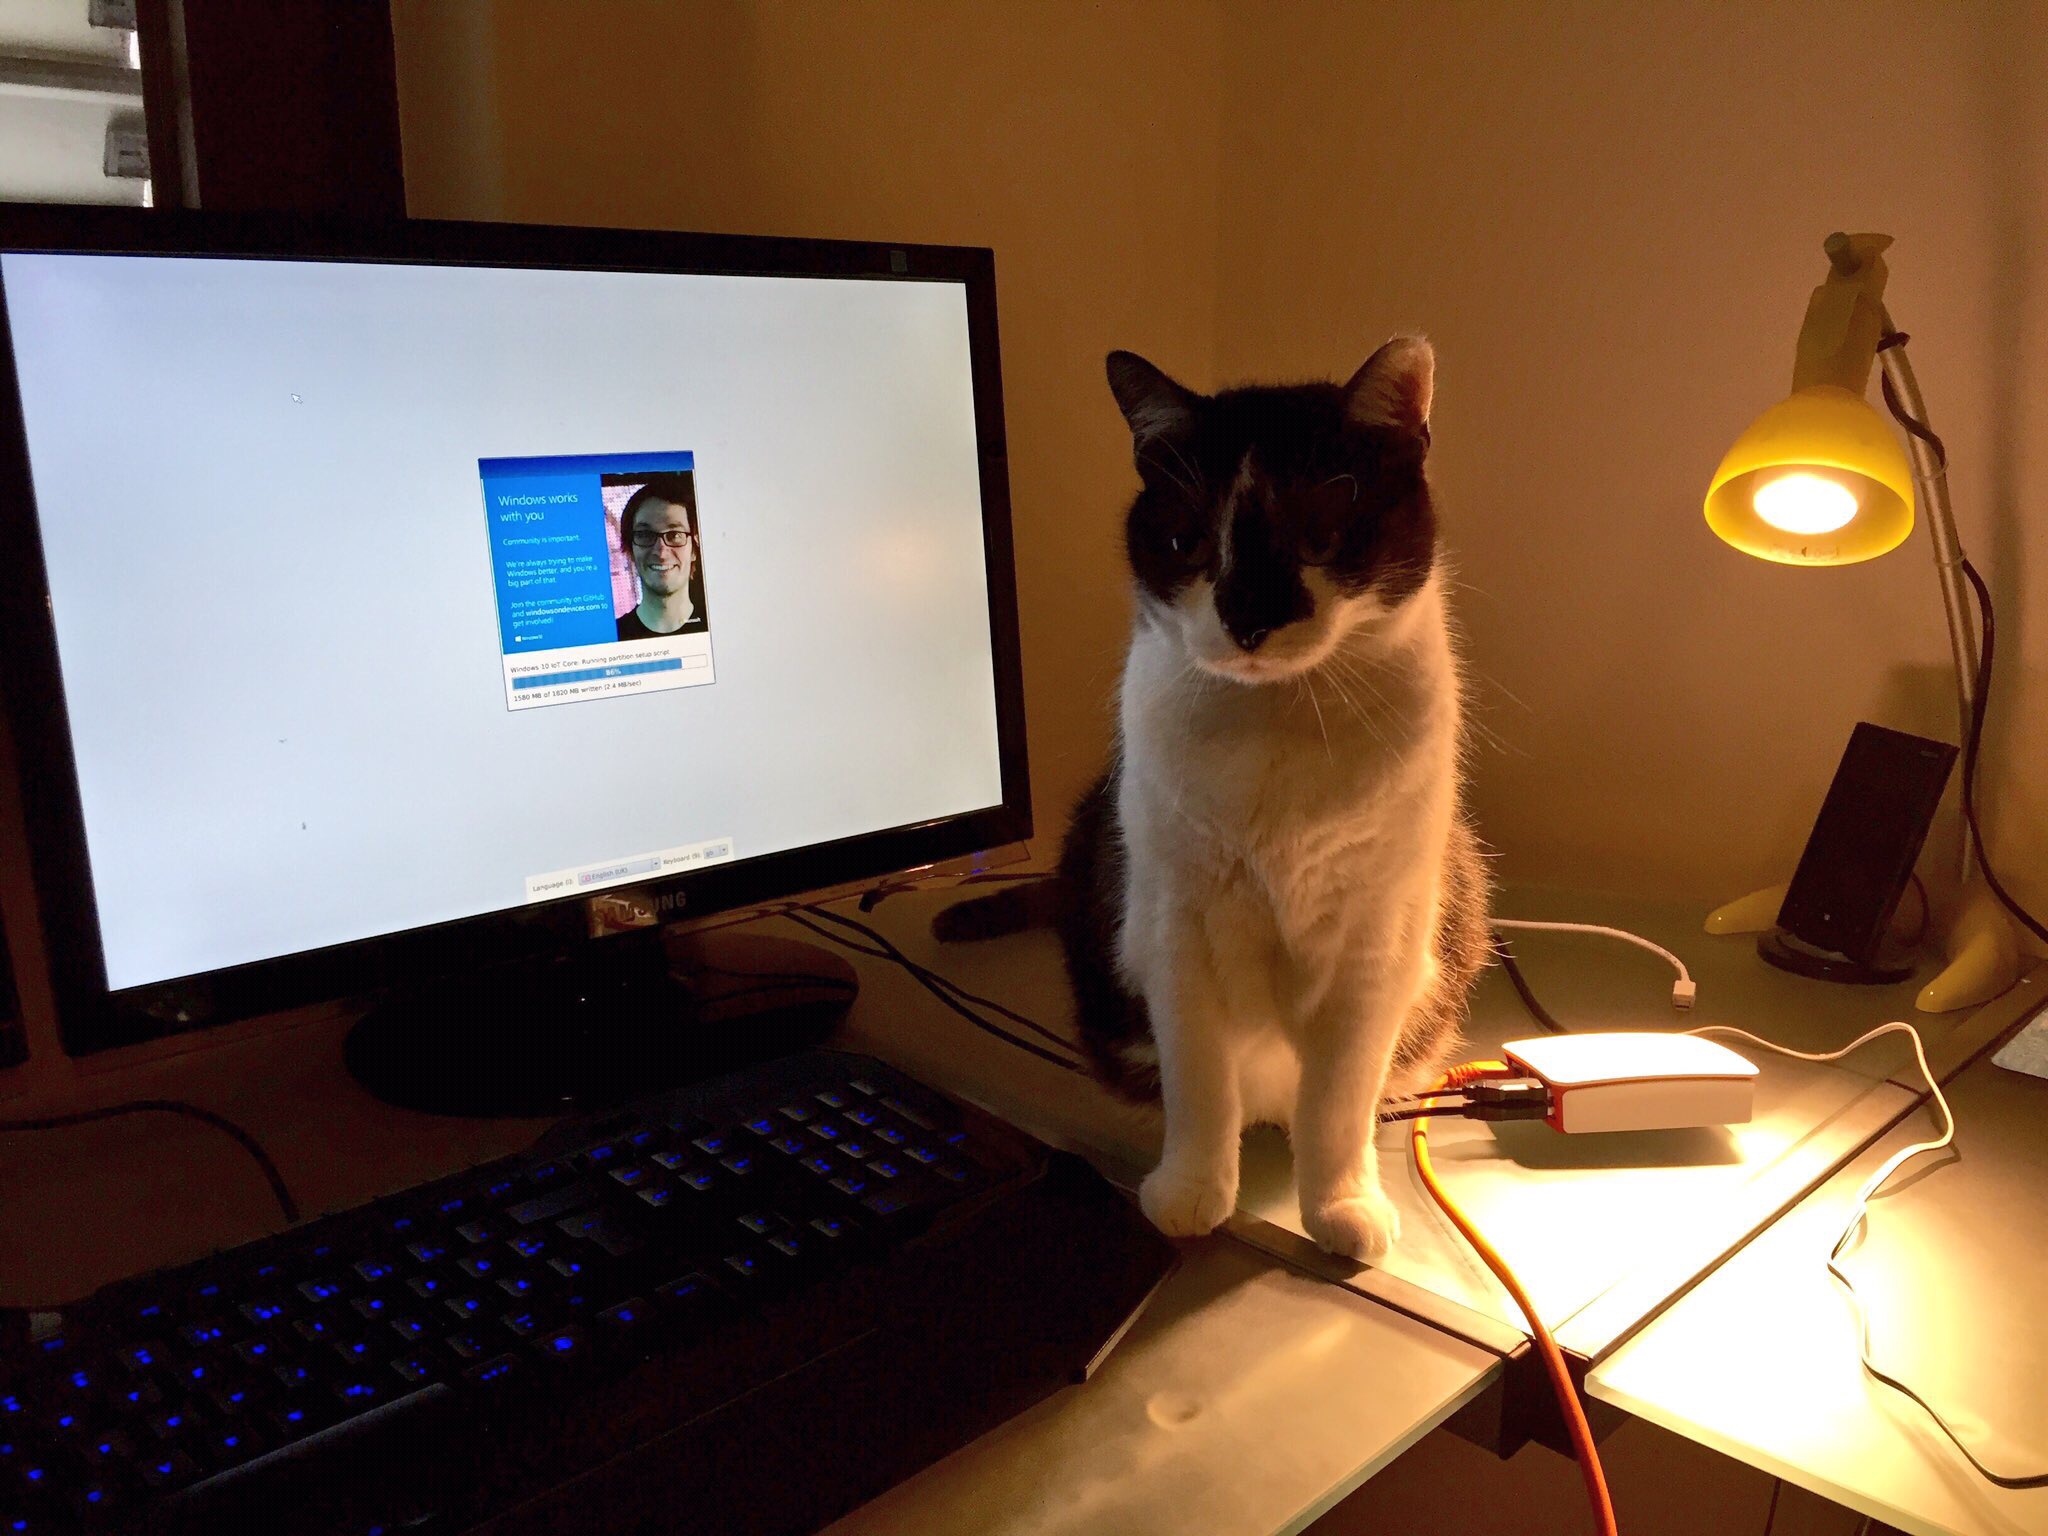
My new Raspberry Pi 3 finally arrived on Friday so this weekend I was setting things up for the Pi 3. 😃

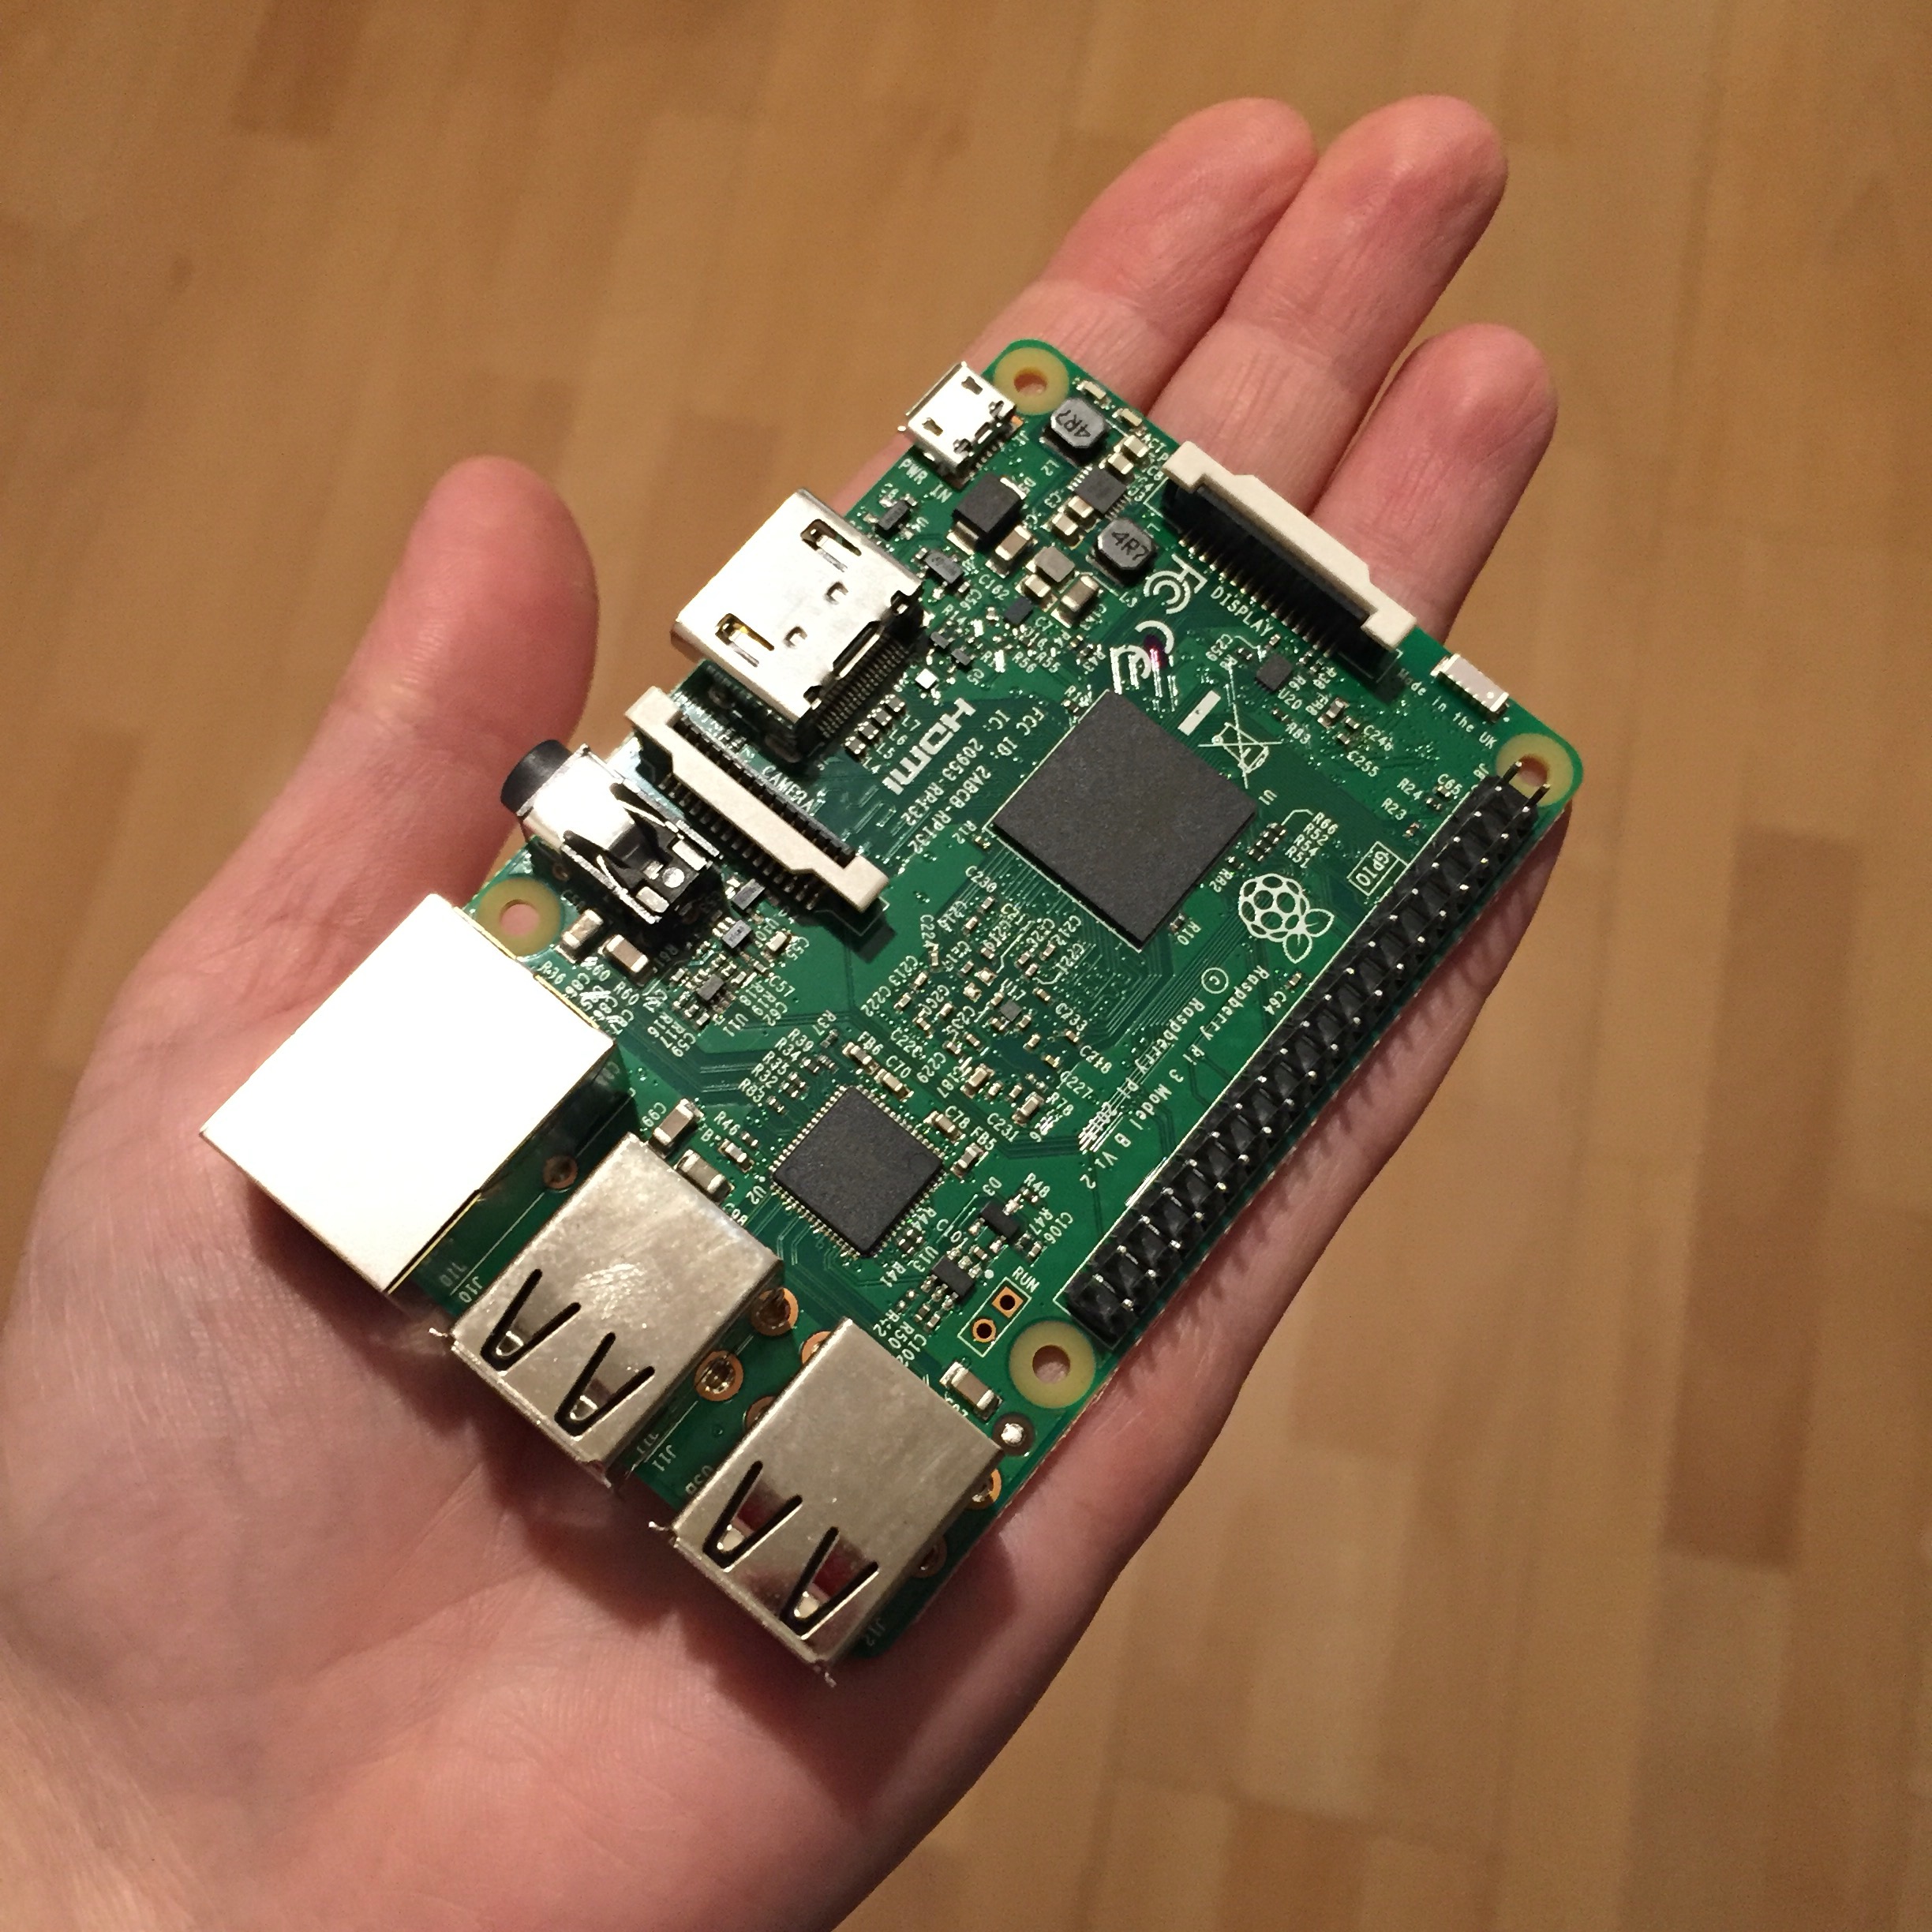
Raspberry Pi 3 specification
- SoC: Broadcom BCM2837
- CPU: 4× ARM Cortex-A53, 1.2GHz
- GPU: Broadcom VideoCore IV
- RAM: 1GB LPDDR2 (900 MHz)
- Networking: 10/100 Ethernet, 2.4GHz 802.11n wireless
- Bluetooth: Bluetooth 4.1 Classic, Bluetooth Low Energy
- Storage: microSD
- GPIO: 40-pin header, populated
- Ports: HDMI, 3.5mm analogue audio-video jack, 4× USB 2.0, Ethernet, Camera Serial Interface (CSI), Display Serial Interface (DSI)
RASPBERRY PI 3 IS OUT NOW! SPECS, BENCHMARKS & MORE
Accessories
I ordered the Starter Kit Bundle with a case in red and white, SD card and power adapter. Putting it all together is very straightforward.
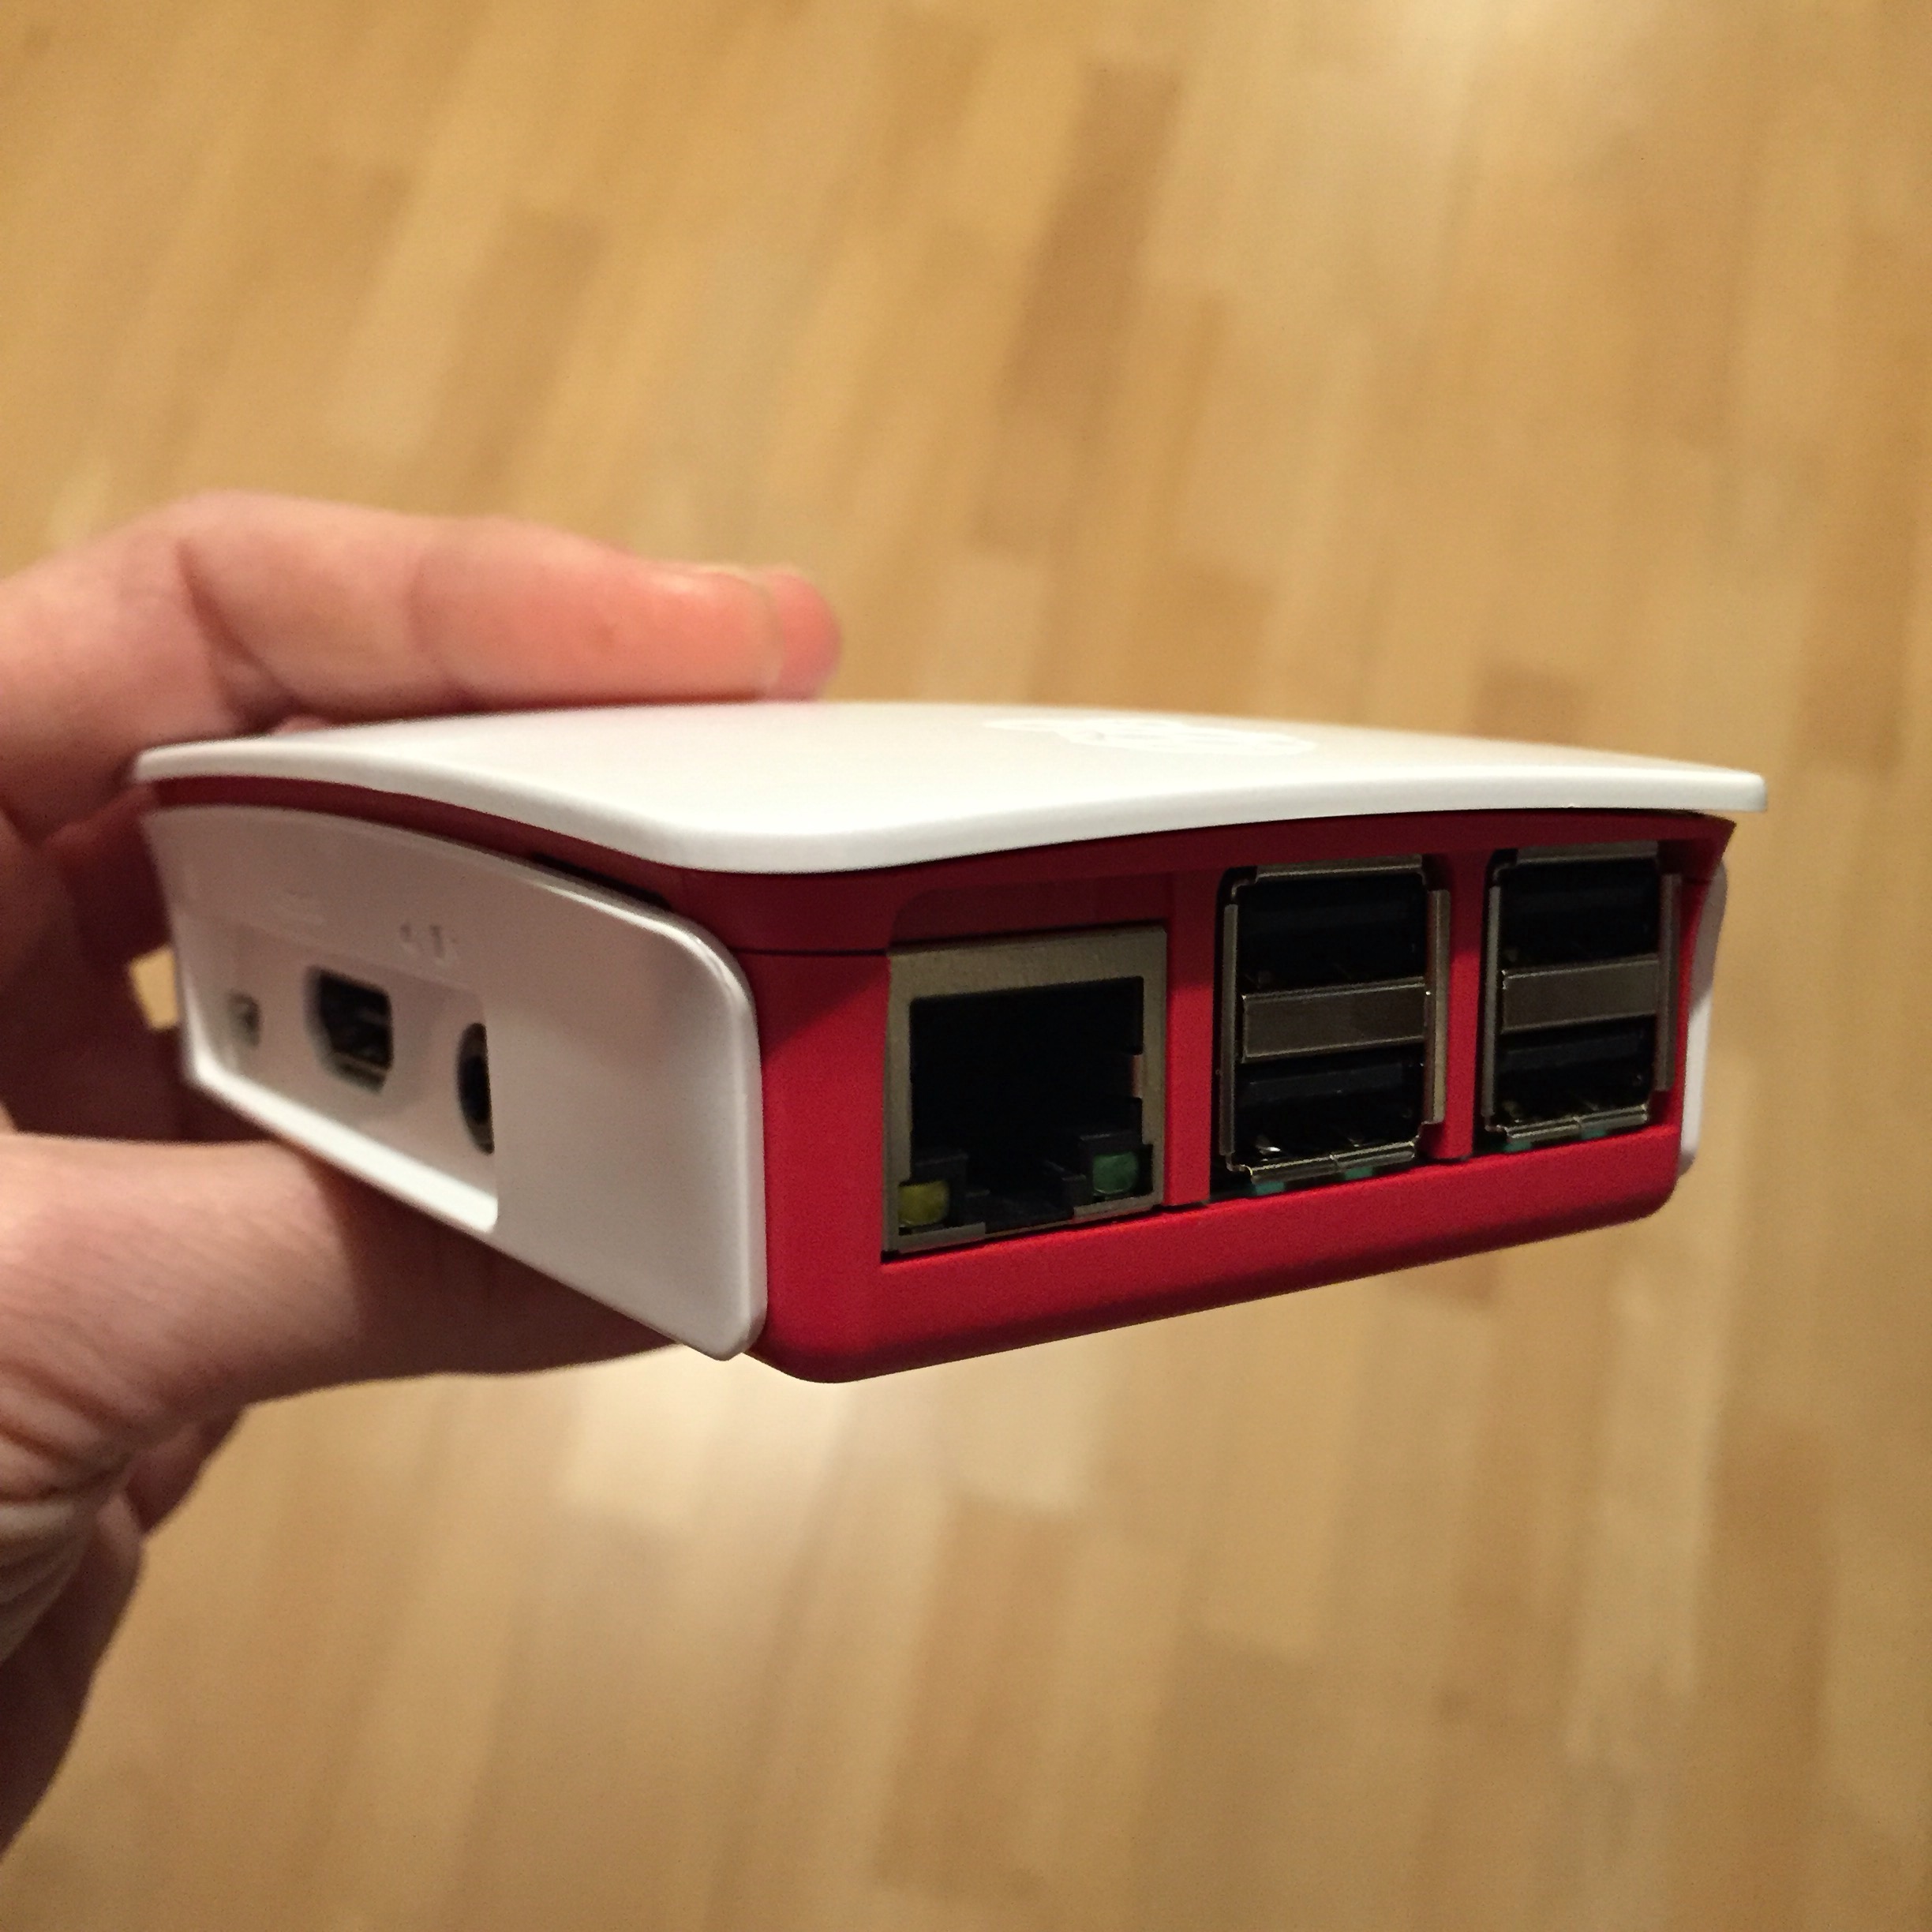
Using the Pi for the first time is easy: connect to a monitor, keyboard, mouse and power adapter. You no longer need a WiFi dongle because the Pi 3 has onboard WiFi. You can connect a camera and speakers.
Operating system
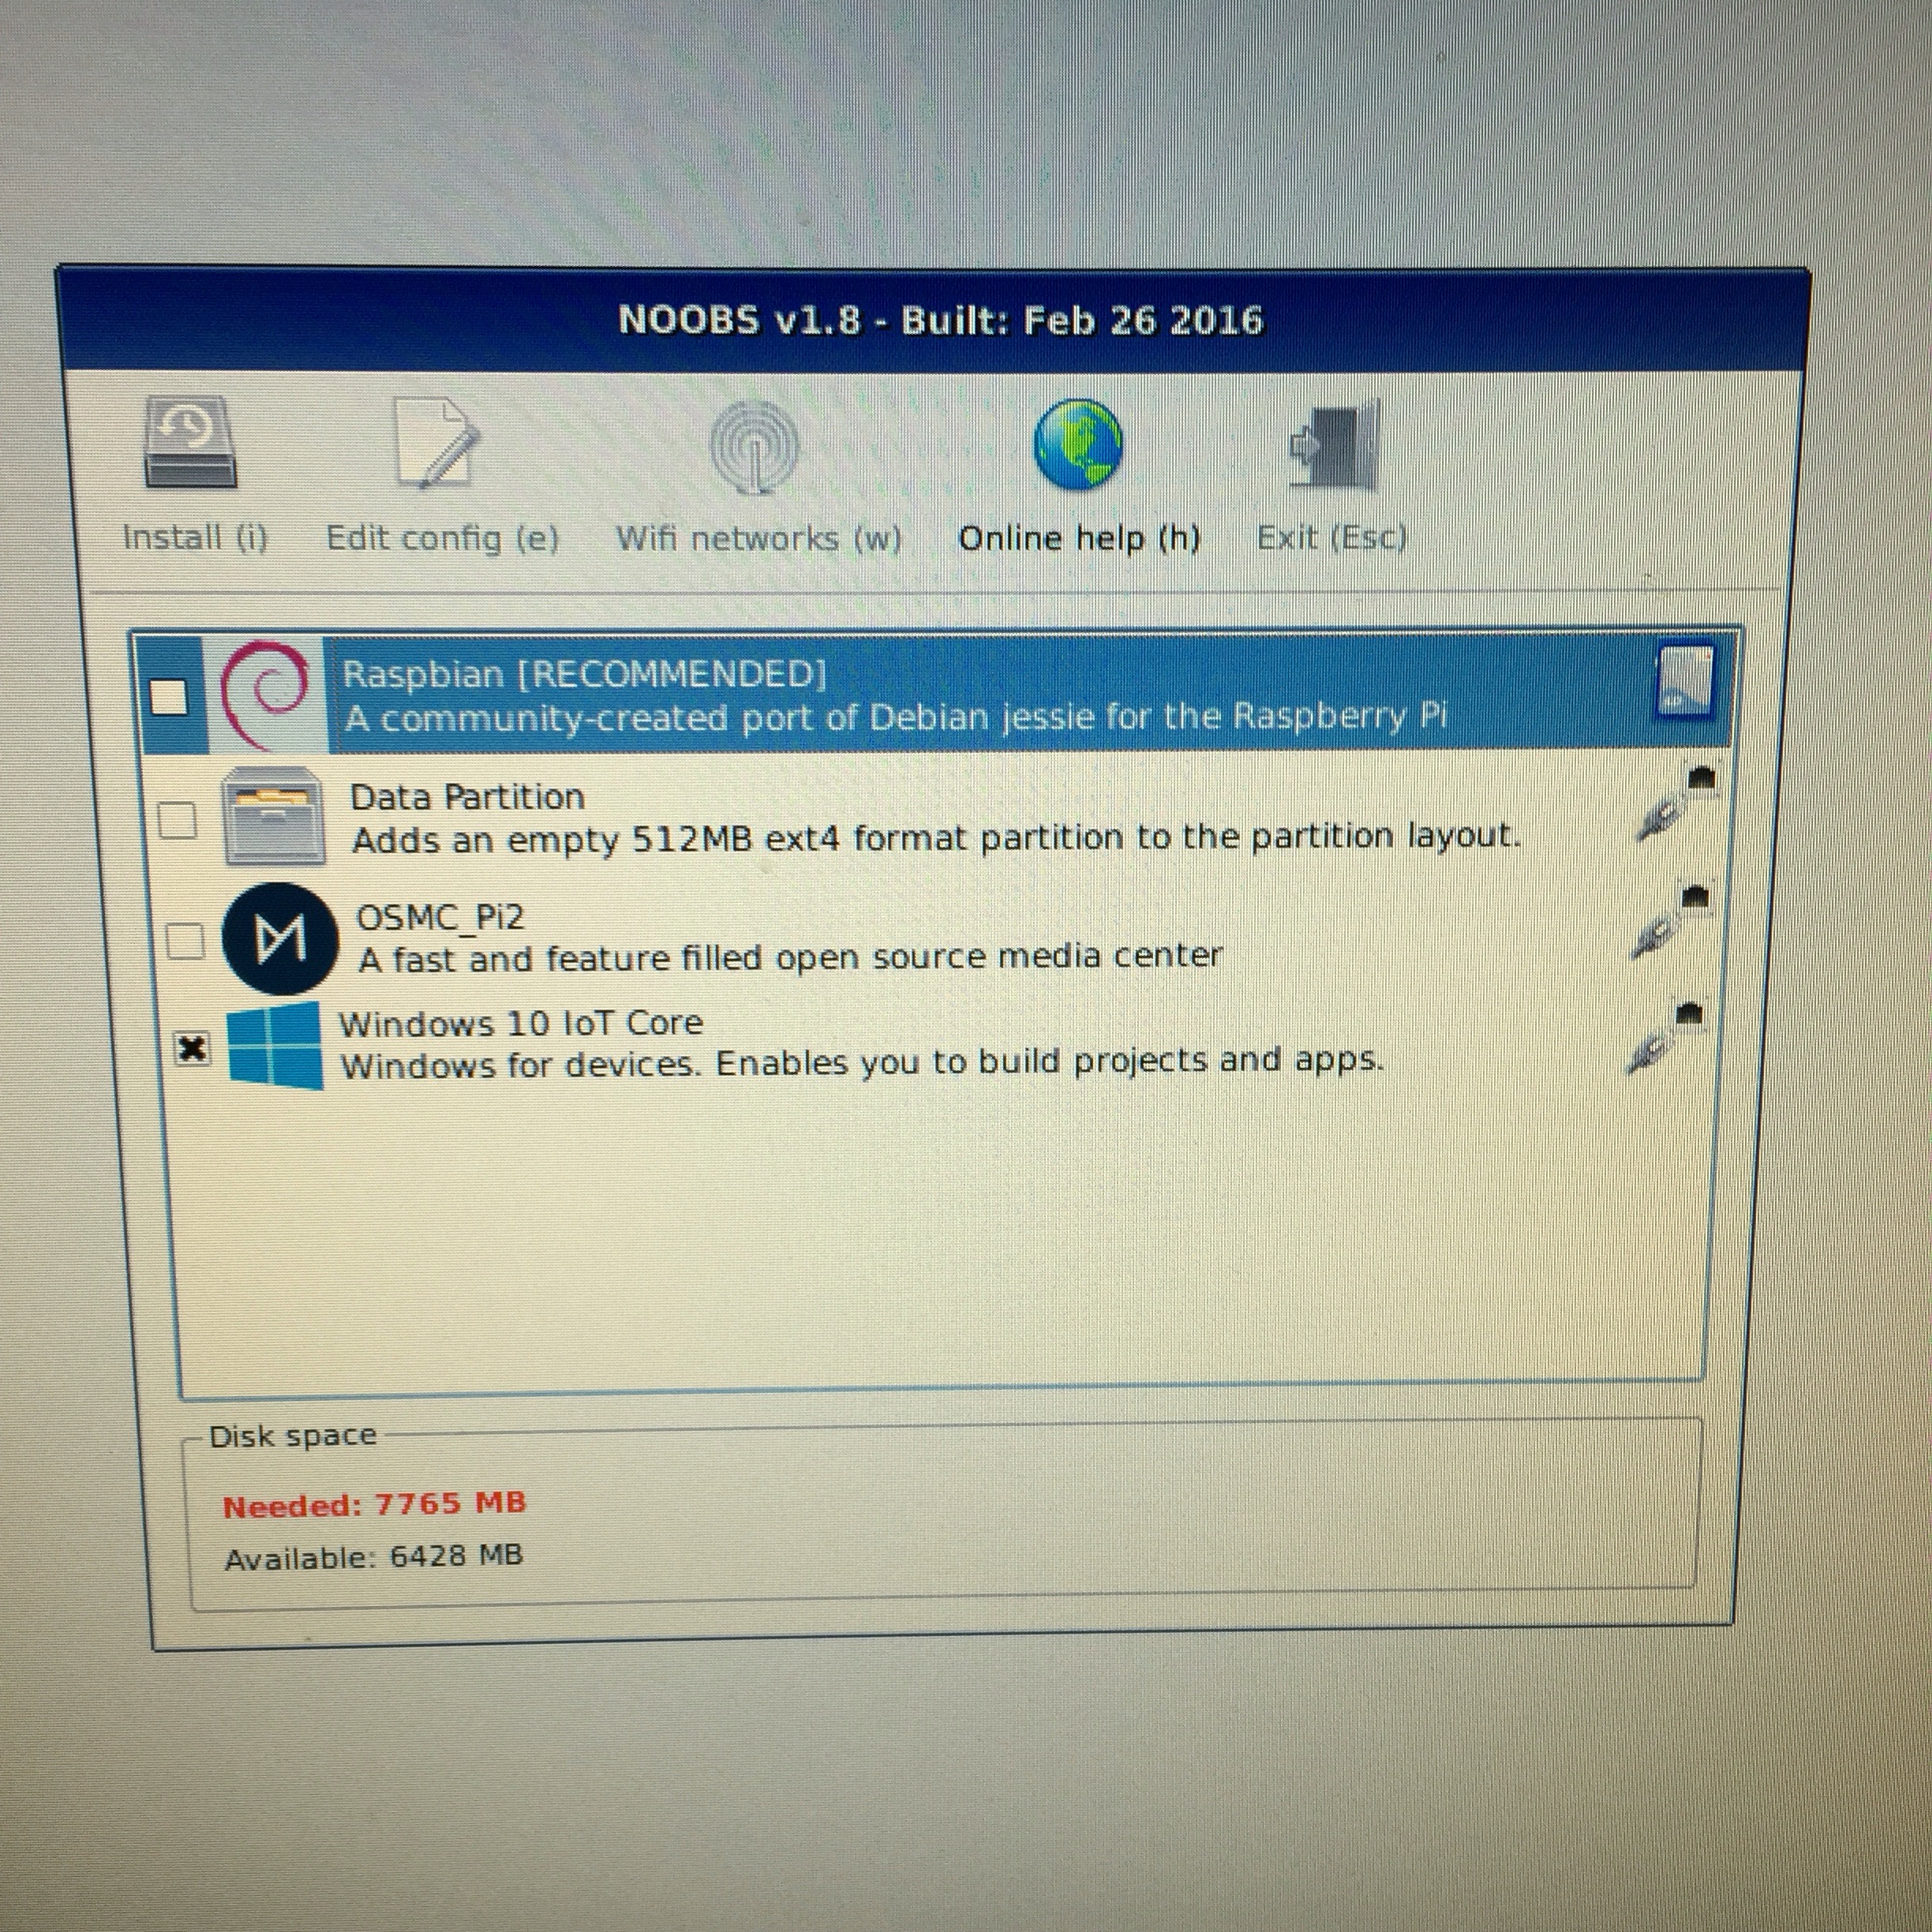
Noobs V1.8, or New Out Of the Box Software is the operating system install manager for the Raspberry Pi, and, if you don’t connect your Pi to the internet, it displays the option to install the recommended Raspbian.

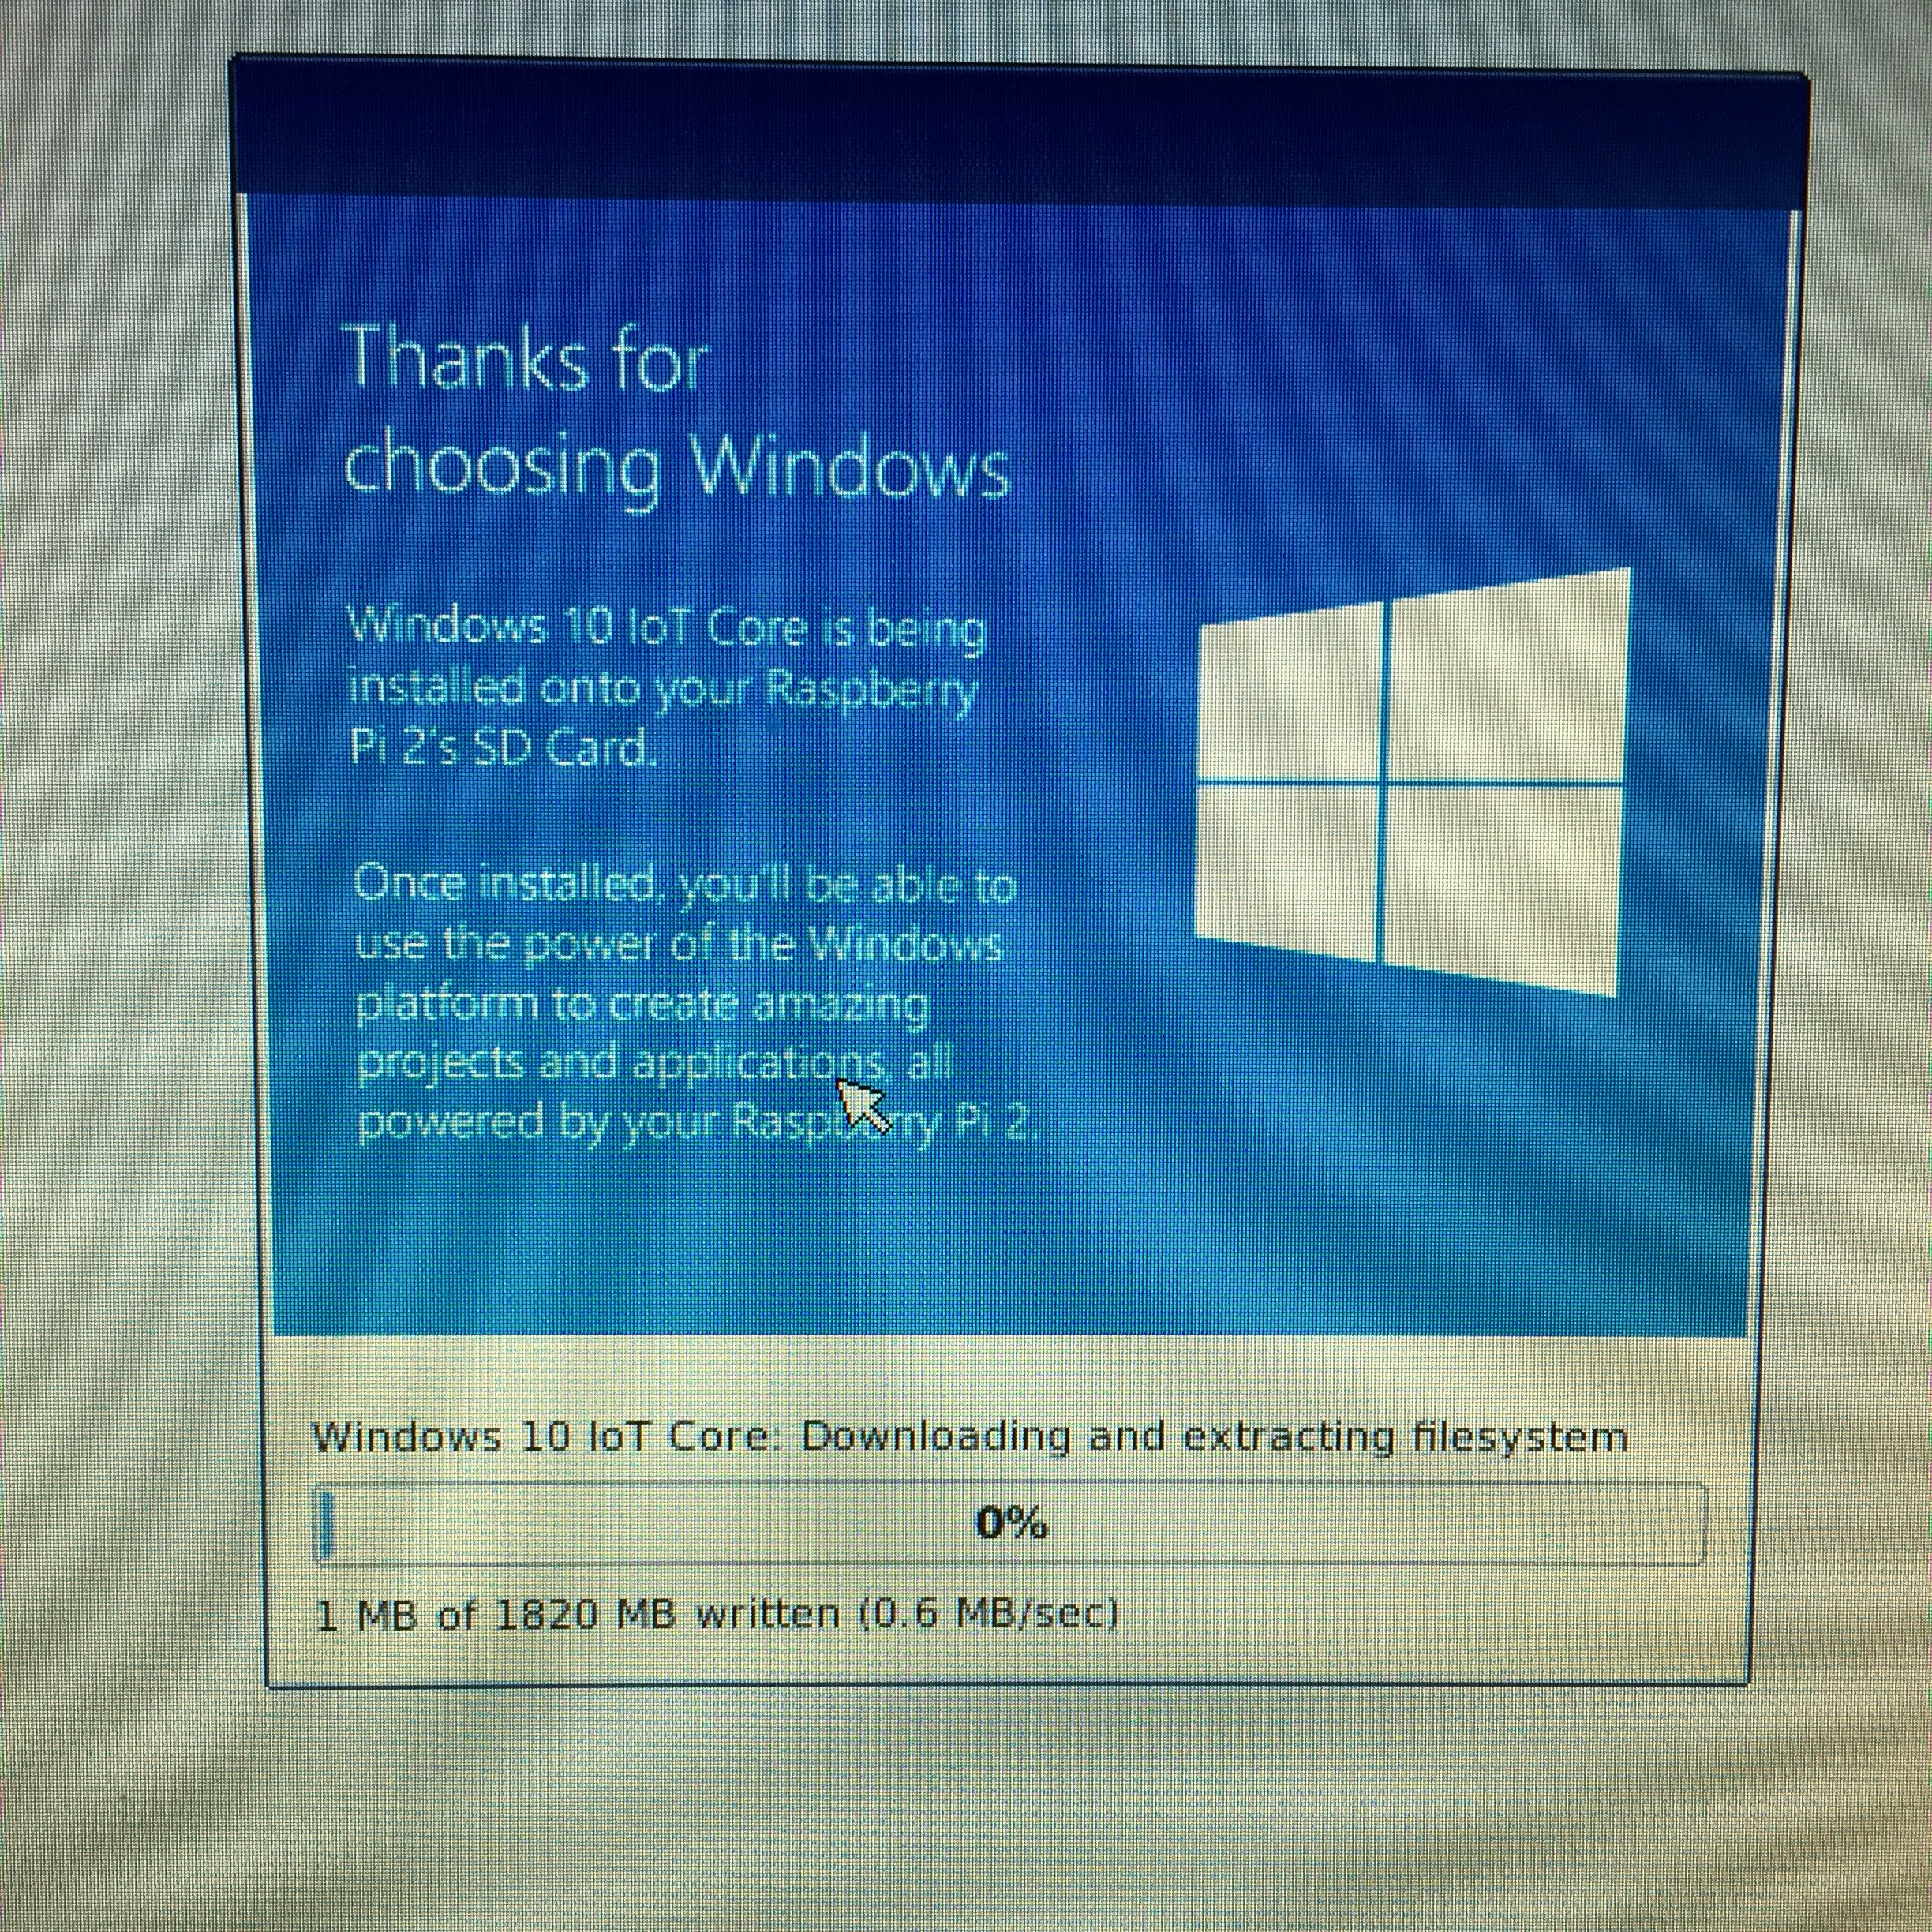
You can also use third-party OS like Occidentalis from Adafruit or Windows IoT Core, which you can download here.
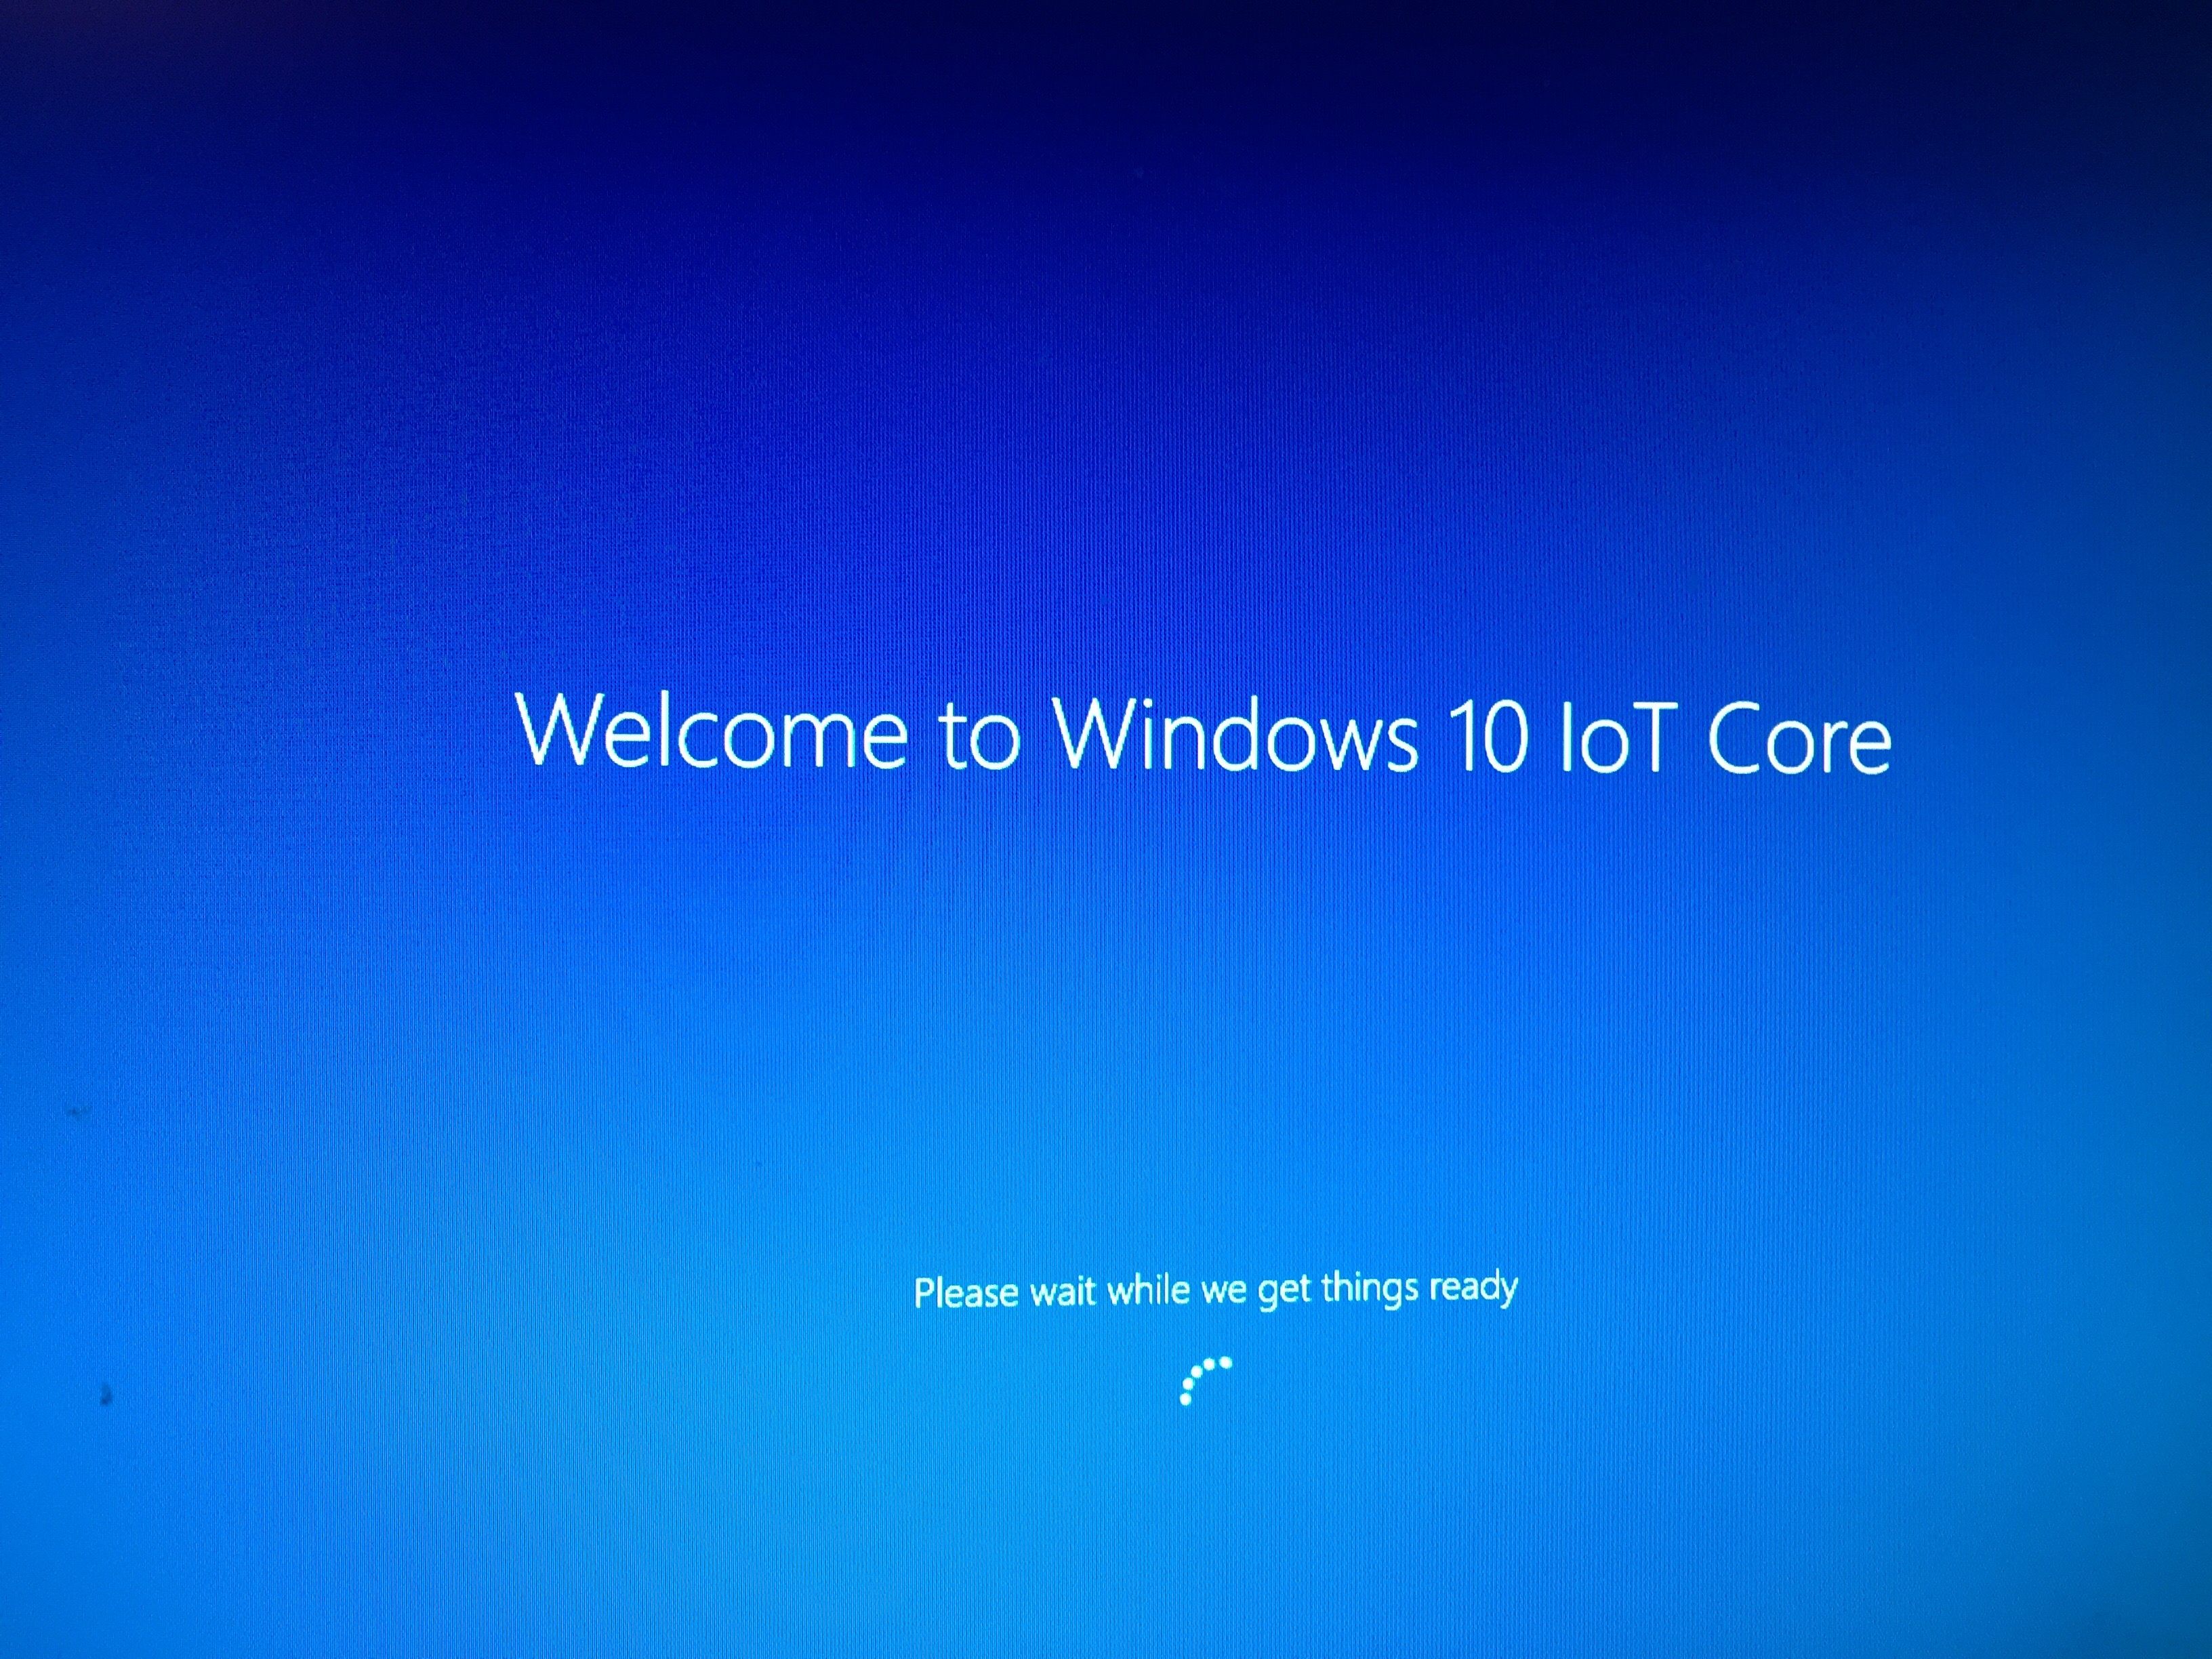
Using Windows IoT Core
Windows IoT Core supports now Raspberry Pi 3.
- Download Insider Preview image for Raspberry Pi 3 here
or
Setting up Windows IoT Core with Noobs
Connect the Pi to the network.
Make sure you have a microSD card with at least 16 Gb space. You can install Noobs on a microSD card by following the instructions on this page.
Voila! 😃
Keep in mind that support for onboard WiFi & Bluetooth coming soon in a future release of Windows IoT Core Insider Preview: What’s New for Windows IoT Core Insider Preview for Raspberry Pi 3
Samples
The best way to start is with samples and the Windows 10 IoT Core Samples is a great collection. You can also try the samples in the IoT Dashboard: Blinky and Internet Radio. The source code for these samples are available online.
Next up: building things with the Raspberry Pi 3. 🙂
More useful links
- Using SSH to connect and configure a device running Windows IoT Core
- Using WiFi on your Windows 10 IoT Core device
- Windows Device Portal
Thank you to my little helper for assisting me in setting up up my new Raspberry Pi 3.