Siemens recently launched the the intelligent gateway for industrial IoT solutions onto the market. Named SIMATIC IOT2000, it is designed as a gateway between cloud, in-company IT and production. The cloud could be the Siemens Cloud for Industry, MindSphere, or any other preferred cloud.
I have many ideas that I want to try out with my SIMATIC2040. This is the first post of the series and here I will be setting up the SIMATIC IOT2040.
Required hardware
- SIMATIC IOT2040
- Power supply 9 – 36 V
- Network cable
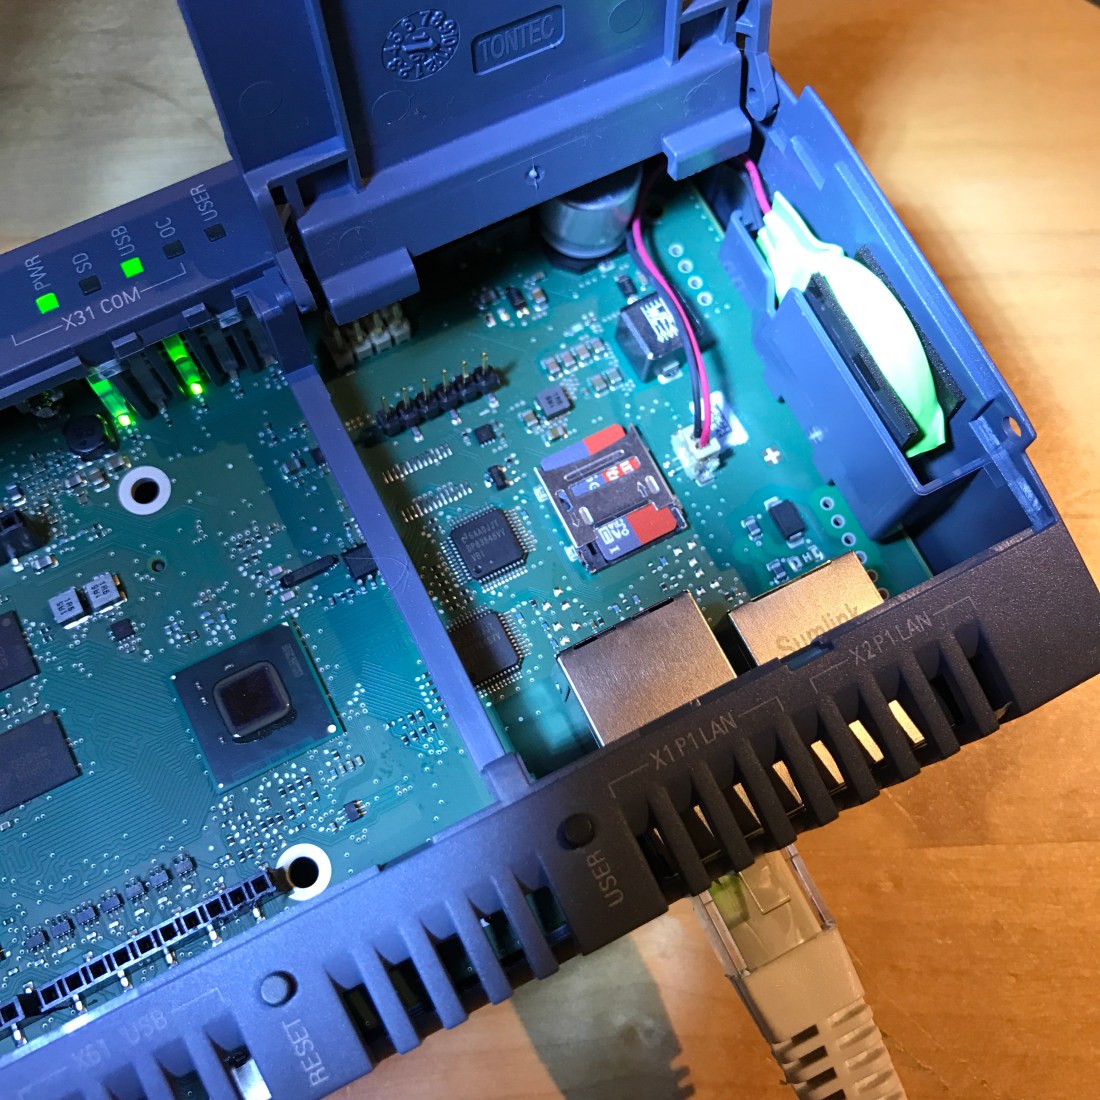
Specs IOT2040
- Intel Quark X1020 processor (+Secure Boot)
- Internal interfaces for Arduino Shield and Mini PCIe card
- 1 GB RAM
- 2 x Ethernet interfaces
- 2 x RS232/422/485 interface
- Battery-buffered real-time clock
- Yocto Linux support
Required software
Creating the bootable SD card
- SD-Card Example Image
- Win32 Disk Imager – Windows tool for writing images to USB sticks or SD/CF cards
We place the SD card into the computer, start Win32 Dick Imager, select the image file that we previously downloaded, select the device of the SD card and write the image onto the card.

We place the SD card in the IOT2040, connect the IOT2040 to the network and plug it in the power, then finally switch it on.
IOT2040 has a static IP address but we change it to dhcp, as described here: Python and LoRaWAN enabling the Siemens IoT2020. We ping it and log in.

Resizing file system
The SD card is 16 Gb but the image size is approx. 1 Gb so we don’t have much space left.

We can resize the partition so that it uses also the 15 Gb left on the card, by following the steps described here: Extend root filesystem using CLI parted & resize2fs

And with that, we are all set and we can start creating applications for the SIMATIC IOT2040.

You must be logged in to post a comment.