This is part #5 of my adventures in Building the Internet of Things with the Raspberry Pi. You can read about Controlling a wireless socket with Raspberry Pi and Setting up Raspbian on the Raspberry Pi 3 which is a prerequisite for this post.
I recently tested this raspberry-remote app written in php to control a remote power socket with a raspberry pi via a web interface and I want to implement this with Node.js.
lean-raspberry-pi
LEAN stands for LokiJS, Express, AngularJS and Node.js.
We often tend to forget the lights on at home so the goal of this hobby project is to control the wireless sockets in our house via a web interface. So if a light is plugged into the wireless socket I could switch it on or off just by flipping the switch in the web page. This could be helpful also while being away on vacation to check if all the lights are turned off. I plan to extend the project with secure login and perhaps a scheduling calendar, for example to automatically turn on/off a socket at a specific time of day.
Overview
- Client
- AngularJS
- Express
- Bootstrap
- Bootstrap Switch
- Angular Bootstrap switch
- Client-server communication
- Rest API
- API created with Swagger
- Server
- Node.js
- LokiJS
Step 1: Just a simple Hello World with Node.js
Setup on the Raspberry Pi
Node.js is already installed on the Pi but it’s an older version (v0.10), so I install the newest version (4.2.1):
sudo apt-get remove nodejs node– uninstall older version
wget http://node-arm.herokuapp.com/node_latest_armhf.deb
sudo dpkg -i node_latest_armhf.deb– install new version
Verify Node.js version:
node -v
Setup in Visual Studio
I install Node.js Tools for Visual Studio from the Gallery.
I create a new Project using the Blank Node.js Web Application template. The project contains a file server.js which simply writes out Hello World on the page. When I run the web app, this is self-hosted by self-hosting the node.exe process.
I don’t want to write our HTML code in JavaScript so I create a new index.html web page with a simple text Hello World.
Run the Node.js web app on the Raspberry Pi
I copy over the source code to the RPi and run this line:
node server.js
Now I can open your web app in the browser and Hello World is displayed.
Step 2: Controlling the wireless socket with Node.js
Client

Creating the view
I add links to the CDN for jQuery, Angular, Bootstrap, Bootstrap Switch and Angular Bootstrap Switch to the index page. I use Bootstrap for styling the pages and Angular Bootstrap Switch for styling the checkbox to look like a toggle switch.
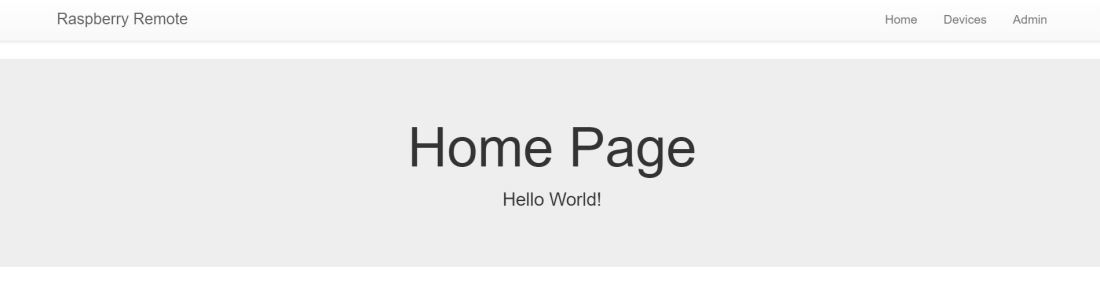
I create three HTML pages:
- Home page with a welcome message,
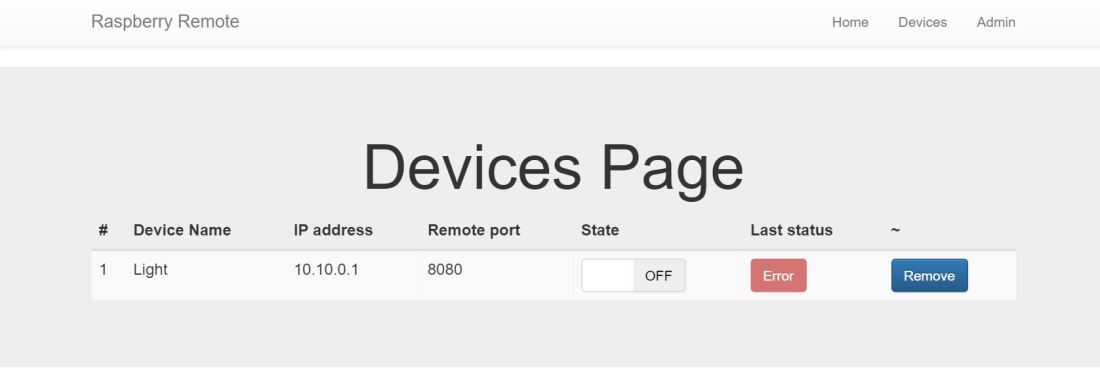
- Devices page with a table to show the list of devices, a device can be deleted and its state can be set to on or off,
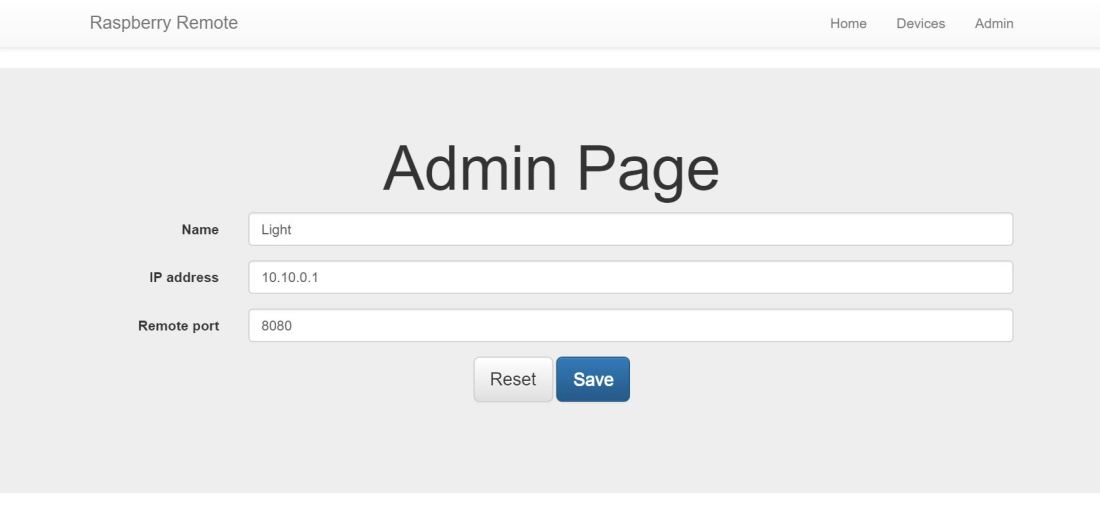
- Admin page to add a new device with mandatory inputs for device name, IP address and remote port; a button to add the device and a button to reset the form.
I add a div with ng-view on the index.html and add a navigation area with links to these pages. I add ng-controller on the body to use the Angular routing mechanism from JavaScript to dynamically fill in the ng-view area based on which page was selected.
Set up routing
In the main.js the angular module is defined with dependencies to ngRoute and bootstrap switch and the routes are configured.
Creating the controller
The device list controller will:
- fill the table of devices by sending a HTTP GET that fetches the list of devices from the server.
- handle deleting a device by sending a HTTP DELETE to the server with the id of the device that is to be deleted.
- handle switching the device on or off by sending a HTTP PUT to the server with the device id and the new state.
The controller for the add device form will:
- add the new device by sending a HTTP POST to the server with the new device information and redirects to the list of devices.
- reset the input elements on the form.
Note: make sure that the integer fields are inputs of type number on the page, otherwise a Bad request with code 400 will come back. This is because schema validation will fail, Angular writes strings for inputs of type text.
Client-side code snippets
| raspberryRemoteApp.controller('addDeviceFormController', function ($scope, $http, $location) { | |
| $scope.master = {}; | |
| $scope.addFormStatus = ''; | |
| $scope.update = function (device) { | |
| console.log(device); | |
| $http.post('http://localhost:1337/api/devices', device) | |
| .success(function () { | |
| $scope.device = angular.copy($scope.master); | |
| $location.path('/devices'); | |
| }) | |
| .error(function () { | |
| $scope.addFormStatus = 'Something went wrong!'; | |
| }); | |
| }; | |
| $scope.reset = function () { | |
| $scope.device = angular.copy($scope.master); | |
| $scope.addFormStatus = ''; | |
| }; | |
| $scope.reset(); | |
| }) |
| <div class="jumbotron text-center"> | |
| <h1>Admin Page</h1> | |
| <div ng-controller="addDeviceFormController"> | |
| <div class="container"> | |
| <form name="addDeviceForm" class="form-horizontal"> | |
| <div class="form-group"> | |
| <label for="inputName" class="control-label col-xs-2">Name</label> | |
| <div class="col-xs-10"> | |
| <input type="text" class="form-control" id="inputName" placeholder="Name of the device" ng-model="device.name" required /> | |
| </div> | |
| </div> | |
| <div class="form-group"> | |
| <label for="inputIpAddress" class="control-label col-xs-2">IP address</label> | |
| <div class="col-xs-10"> | |
| <input type="text" class="form-control" id="inputIpAddress" placeholder="Ip address of the device" ng-model="device.ipAddress" required /> | |
| </div> | |
| </div> | |
| <div class="form-group"> | |
| <label for="inputRemotePort" class="control-label col-xs-2">Remote port</label> | |
| <div class="col-xs-10"> | |
| <input type="number" class="form-control" id="inputRemotePort" placeholder="Remote port of the device" ng-model="device.remotePort" required /> | |
| </div> | |
| </div> | |
| <div class="form-group"> | |
| <div class="col-xs-12"> | |
| <input type="button" ng-click="reset()" class="btn btn-lg btn-default" value="Reset" /> | |
| <input type="submit" ng-click="update(device)" class="btn btn-lg btn-default btn-primary" value="Save" /> | |
| </div> | |
| </div> | |
| <div class="form-group"> | |
| <div class="col-xs-12"> | |
| <p><b>{{ addFormStatus }}</b></p> | |
| </div> | |
| </div> | |
| </form> | |
| </div> | |
| </div> | |
| </div> |
| <div class="jumbotron text-center"> | |
| <h1>Devices Page</h1> | |
| <div ng-controller="devicesListController"> | |
| <div class="container"> | |
| <table class="table table-striped table-hover table-responsive"> | |
| <thead> | |
| <tr> | |
| <th>#</th> | |
| <th>Device Name</th> | |
| <th>IP address</th> | |
| <th>Remote port</th> | |
| <th>State</th> | |
| <th>Last status</th> | |
| <th>~</th> | |
| </tr> | |
| </thead> | |
| <tbody> | |
| <tr ng-repeat="device in devices"> | |
| <td>{{device.id}}</td> | |
| <td>{{device.name}}</td> | |
| <td>{{device.ipAddress}}</td> | |
| <td>{{device.remotePort}}</td> | |
| <td> | |
| <input type="checkbox" ng-model="device.state" bs-switch ng-change="toggle(device)" /> | |
| </td> | |
| <td> | |
| <button type="button" class="btn btn-success" disabled ng-show="device.success">Success</button> | |
| <button type="button" class="btn btn-danger" disabled ng-show="device.error">Error</button> | |
| </td> | |
| <td> | |
| <input type="button" value="Remove" class="btn btn-primary" ng-click="removeRow(device)" /> | |
| </td> | |
| </tr> | |
| </tbody> | |
| </table> | |
| <p>{{ switchStatus }}</p> | |
| </div> | |
| </div> | |
| </div> |
| raspberryRemoteApp.controller('devicesListController', function ($scope, $http) { | |
| $scope.removeRow = function (device) { | |
| $http.delete('http://localhost:1337/api/devices/' + device.id, device). | |
| success(function (data) { | |
| console.log(data); | |
| $scope.devices = data; | |
| }); | |
| }; | |
| $scope.toggle = function (device) { | |
| $scope.switchStatus = ''; | |
| $http.put('http://localhost:1337/api/devices/' + device.id + '/' + device.state, null) | |
| .success(function (data) { | |
| $scope.devices = data; | |
| }) | |
| .error(function (data) { | |
| $scope.devices = data; | |
| $scope.switchStatus = 'Something went wrong!'; | |
| }); | |
| }; | |
| $http.get('http://localhost:1337/api/devices'). | |
| success( | |
| function (data) { | |
| $scope.devices = data; | |
| }) | |
| }); |
| <html ng-app="raspberryRemoteApp"> | |
| <head> | |
| ... | |
| </head> | |
| <body ng-controller="mainController"> | |
| <!-- HEADER AND NAVBAR --> | |
| <header> | |
| <nav class="navbar navbar-default"> | |
| <div class="container"> | |
| <div class="navbar-header"> | |
| <a class="navbar-brand" href="/">Raspberry Remote</a> | |
| </div> | |
| <ul class="nav navbar-nav navbar-right"> | |
| <li><a href="#"><i class="fa fa-home"></i> Home</a></li> | |
| <li><a href="#devices"><i class="fa fa-shield"></i> Devices</a></li> | |
| <li><a href="#admin"><i class="fa fa-comment"></i> Admin</a></li> | |
| </ul> | |
| </div> | |
| </nav> | |
| </header> | |
| <!-- MAIN CONTENT AND INJECTED VIEWS --> | |
| <div id="main"> | |
| <!-- angular templating --> | |
| <!-- this is where content will be injected --> | |
| <div ng-view></div> | |
| </div> | |
| </body> | |
| </html> |
| var raspberryRemoteApp = angular.module('raspberryRemoteApp', ['ngRoute', 'frapontillo.bootstrap-switch']); | |
| // Configure our routes | |
| raspberryRemoteApp.config(function ($routeProvider) { | |
| $routeProvider | |
| // route for the home page | |
| .when('/', { | |
| templateUrl : 'pages/home.html', | |
| controller : 'mainController' | |
| }) | |
| // route for the devices page | |
| .when('/devices', { | |
| templateUrl : 'pages/devices.html', | |
| controller : 'devicesListController' | |
| }) | |
| // route for the admin page | |
| .when('/admin', { | |
| templateUrl : 'pages/admin.html', | |
| controller : 'addDeviceFormController' | |
| }); | |
| }); |
Client-server communication with Rest API
Create API with Swagger
I create the API with the operations to fetch all devices, add new device, set state for a device and delete a device. I generate the client and the server and add them to the project.
Server
Create database of devices with LokiJS
I add LokiJS as dependency and add code to create a new database devices.json and add a new collection in this database.
Implementing the server-side operations
- addDevice inserts the new device in the database. The id field is the $loki field generated automatically by LokiJS. Default state is false (off).
- deleteDevice searches for the device by id and removes it from the database if found. The updated list of devices is sent back to the client.
- findDevices returns all devices in the database.
- setStateByDeviceId searches for the device by id and switches the device on or off.
Controlling the remote socket
I use the Node.js Net Module to write the values On or Off for the remote socket. I use the Module Pattern to create the PowerOutlet object and add public methods to handle the on and off states. These methods call setState with ipAddress, remotePort and value to set. The private method setState tries to connect to the port; if successful, it writes the corresponding value and finally closes the socket.
Server-side code snippets
| var device = args.device.value; | |
| var newDevice = devices.insert(device); | |
| newDevice.id = newDevice.$loki; | |
| newDevice.state = false; | |
| devices.ensureUniqueIndex('id'); | |
| db.saveDatabase(); |
| for (var i = 0; i < devices.data.length; i++) { | |
| if (devices.data[i]["id"] == args.id.value) { | |
| devices.remove(devices.data[i]); | |
| } | |
| } |
| if(devices.data.length > 0) { | |
| res.setHeader('Content-Type', 'application/json'); | |
| res.end(JSON.stringify(devices.data)); | |
| } | |
| else { | |
| res.end(); | |
| } |
| var loki = require('lokijs'); | |
| var db = new loki('devices.json'); | |
| var devices = db.addCollection('devices', { uniqueIndices: ['id'] }); |
| var powerOutlet = (function () { | |
| var _setState = function (ipAddress, remotePort, stateVal) { | |
| var success = false; | |
| var socket = net.connect(remotePort, ipAddress, function () { | |
| socket.write(stateVal); | |
| success = true; | |
| }); | |
| socket.on('error', function (err) { | |
| console.log("Error: " + err); | |
| }); | |
| socket.end(); | |
| return success; | |
| }; | |
| return { | |
| on: function (ipAddress, remotePort) { | |
| return _setState(ipAddress, remotePort, '10001021'); | |
| }, | |
| off: function (ipAddress, remotePort) { | |
| return _setState(ipAddress, remotePort, '10001020'); | |
| } | |
| }; | |
| })(); |
| var success = false; | |
| for (var i = 0; i < devices.data.length; i++) { | |
| var currentDevice = devices.data[i]; | |
| if (currentDevice.id == args.id.value) { | |
| var state = args.state.value; | |
| var oldState = currentDevice.state; | |
| var ipAddress = currentDevice.ipAddress; | |
| var remotePort = currentDevice.remotePort; | |
| if (state) { | |
| success = powerOutlet.on(ipAddress, remotePort); | |
| } | |
| else { | |
| success = powerOutlet.off(ipAddress, remotePort); | |
| } | |
| if (success) { | |
| currentDevice.state = state; | |
| currentDevice.error = false; | |
| currentDevice.success = true; | |
| } | |
| else { | |
| currentDevice.state = oldState; | |
| currentDevice.error = true; | |
| currentDevice.success = false; | |
| } | |
| } | |
| } |
This is just the first draft, I still have some bugs to fix and have many ideas how to improve and extend the project. The complete code is maintained here on GitHub.
PS: thanks to @sn0wcat for listening to me whining during the making of this project and helping me with the code when I got stuck. 😀

You must be logged in to post a comment.